
Onboarding Completion
Learn about the Wallet here,
Set Up Your Wallet
You can learn how to set up your Wallet in this tutorial.
How To Set Up Your Wallet
Objective
This is a step-by-step guide to adding a wallet, setting up auto top-up for credits, and automatically managing credit consumption in Prospect Builder to ensure the smooth operation of your business.
Step 1: Navigate to the Settings Section
Log into your Prospect Builder account with your admin credentials.
Once logged in, click on the "Settings" icon located on the left-hand side navigation menu.
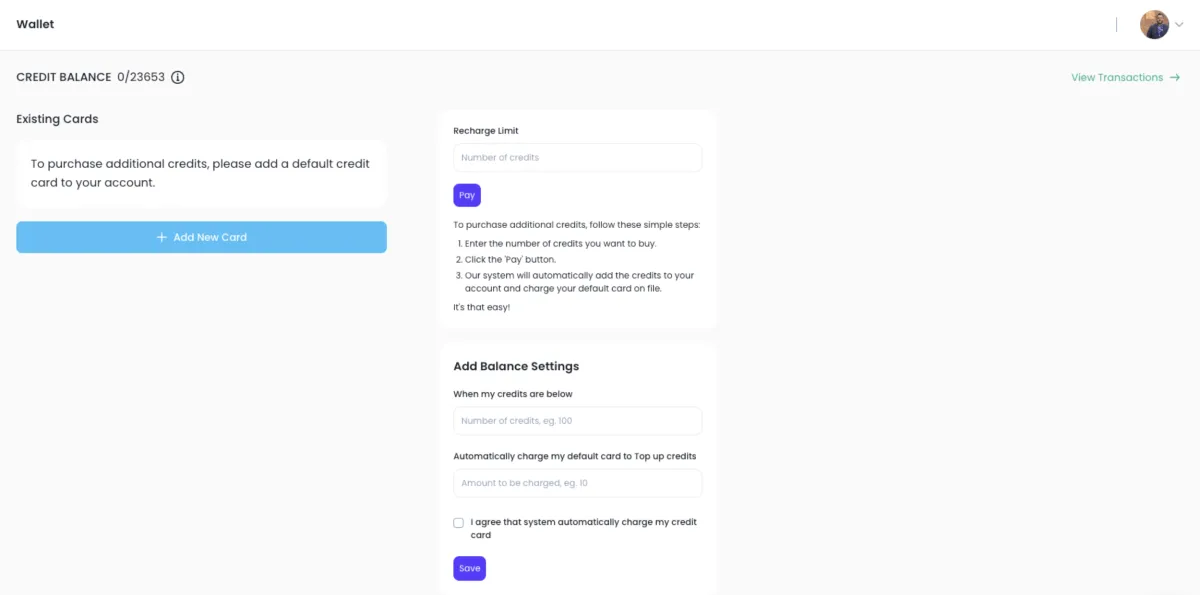
In the settings menu, find and select "Wallet". This is where you will manage your wallet and credit settings.
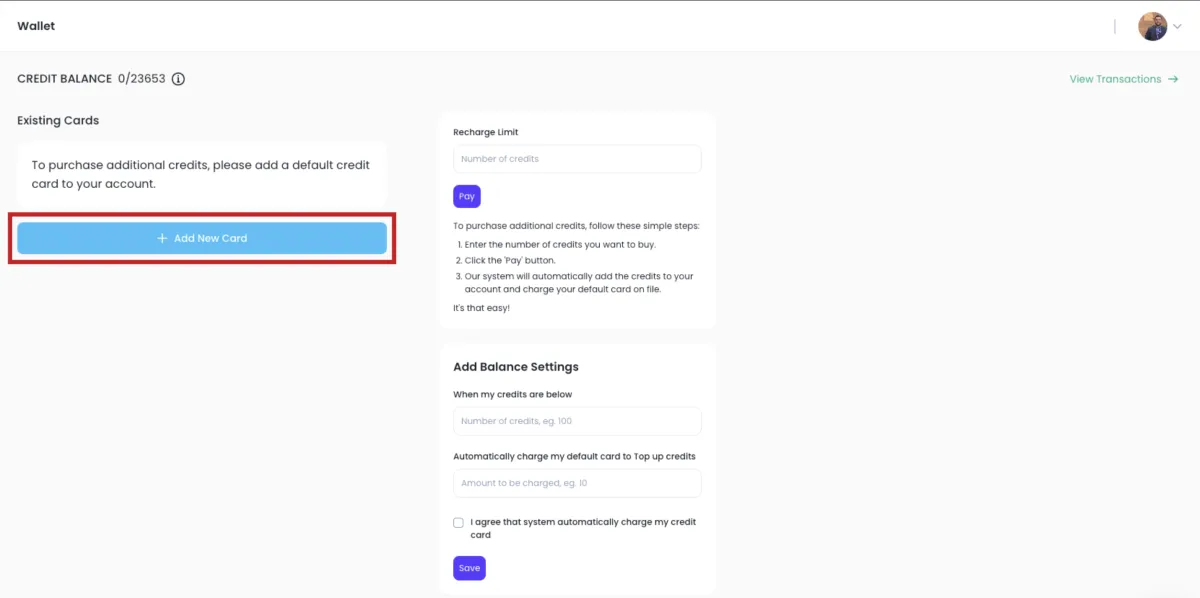
Step 2: Add Your Payment Card
In the "Wallet" section, you will see an option to add a payment card.
Click on "Add Card" to begin the process.
Enter your card details, including:
Card number
Expiration date
CVV
Billing address
Once you have entered the correct information, click “Save” to store the card on file.
A $1 charge will be processed to verify the card, and this amount will be added as a credit to your account.
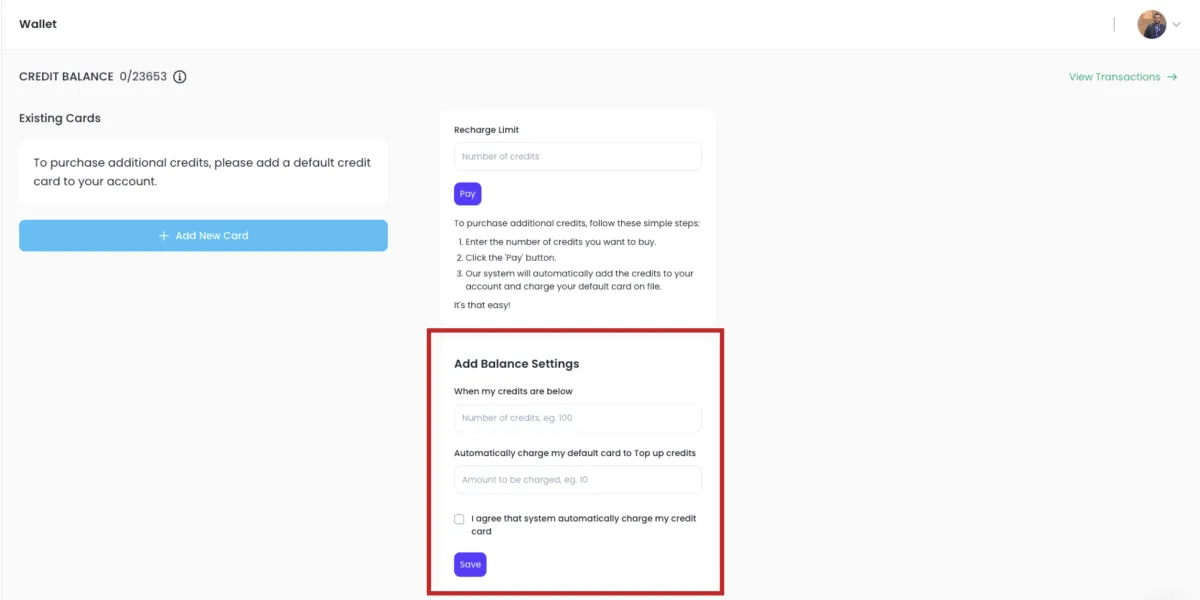
Step 3: Set Up Auto-Top-Up
After successfully adding your card, you will see an option to set up auto-top-up.
Choose the threshold amount at which your account will automatically be topped up (e.g., when credits drop below 100).
Set the top-up amount you want to be added to your account when the threshold is reached (e.g., top up to 1,000 credits).
Confirm the auto-top-up settings to ensure your account will automatically be replenished when credits fall below the threshold.
Step 4: Review and Monitor Credit Consumption
As your business grows and your clients consume credits through the services you offer, monitor your credit consumption to ensure you have enough credits to continue operating smoothly.
You can always manually add credits by selecting a one-time purchase option if necessary.
Additional Information:
The auto-top-up system is designed to ensure that you are always prepared for client consumption. As clients use credits, they pay you for the services, and your account automatically refills based on your settings.
Further training on packaging methods and credit management will be available to help you optimize this process for your business.